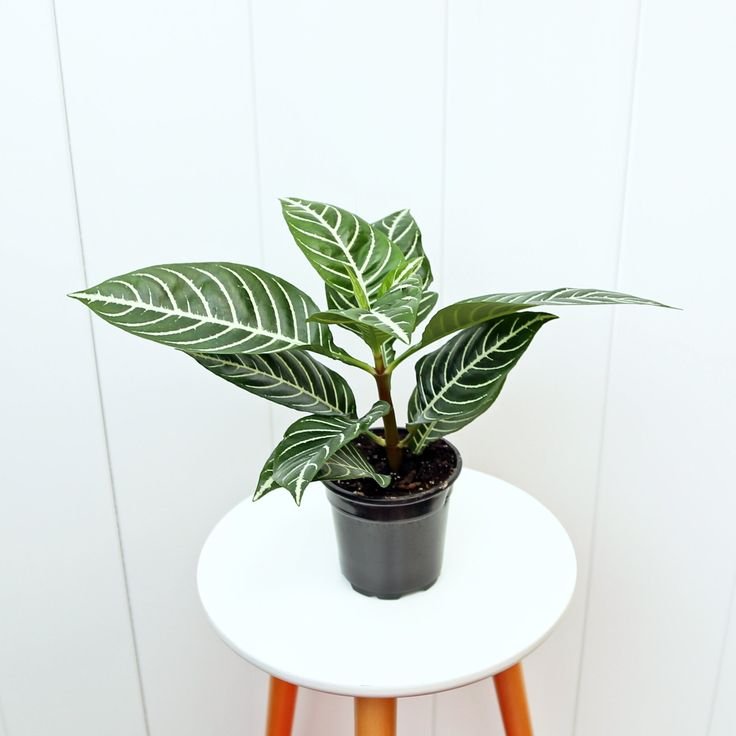
The scientific name of the Boston fern is Nephrolepis exaltata, which belongs to the Lomariopsidaceae family. It is also known by names such as sword fern, ladder fern, and boss fern. Among fern species, it is one of the most popular and is naturally found in the wetlands and forests of many tropical areas. In North America, it is cultivated as a classic houseplant and can grow indoors with minimal care. These plants grow slowly in a creeping manner and can reach up to two to three feet in height and width. Its sword-shaped, blue-green fronds consist of small leaflets, and as they grow larger, the fronds tend to arch. With proper nutrients and care, these plants can live for years indoors and add aesthetic beauty to a home.
Boston Fern Grow And Care
Boston ferns are very popular among gardeners because they can be easily grown at home with minimal care and maintenance. Boston ferns thrive in tropical regions, but with proper care, they can also flourish in cooler climates and enhance the beauty of a home. For Boston ferns, maintaining a stable temperature, high humidity, regular watering, and fertilization is essential. Regular pruning and maintenance can help control the size of the plant and keep it healthy and attractive for a long time.
By providing consistent sunlight, fertile soil and potting mix, necessary fertilizers, regular watering, and the required temperature and humidity, you can easily grow Boston ferns at home. Here are the necessary guidelines for growing Boston ferns at home:
Sunlight & Location
Boston ferns prefer bright, indirect sunlight when grown indoors. Direct sunlight can damage and scorch the fronds, while too much shade can hinder the plant’s growth. To ensure healthy growth, provide 8-12 hours of indirect sunlight daily. Choose a spot where the plant receives ample light and grows well.
Ideal locations for Boston ferns in the home include a balcony or an east-facing window, where the plant can receive morning sunlight and afternoon shade. If your home doesn’t have sufficient natural light, you can use a grow light system to meet the plant’s light requirements. With proper care and adequate light, Boston ferns can enhance the beauty of your home.
Soil & Fertilizer
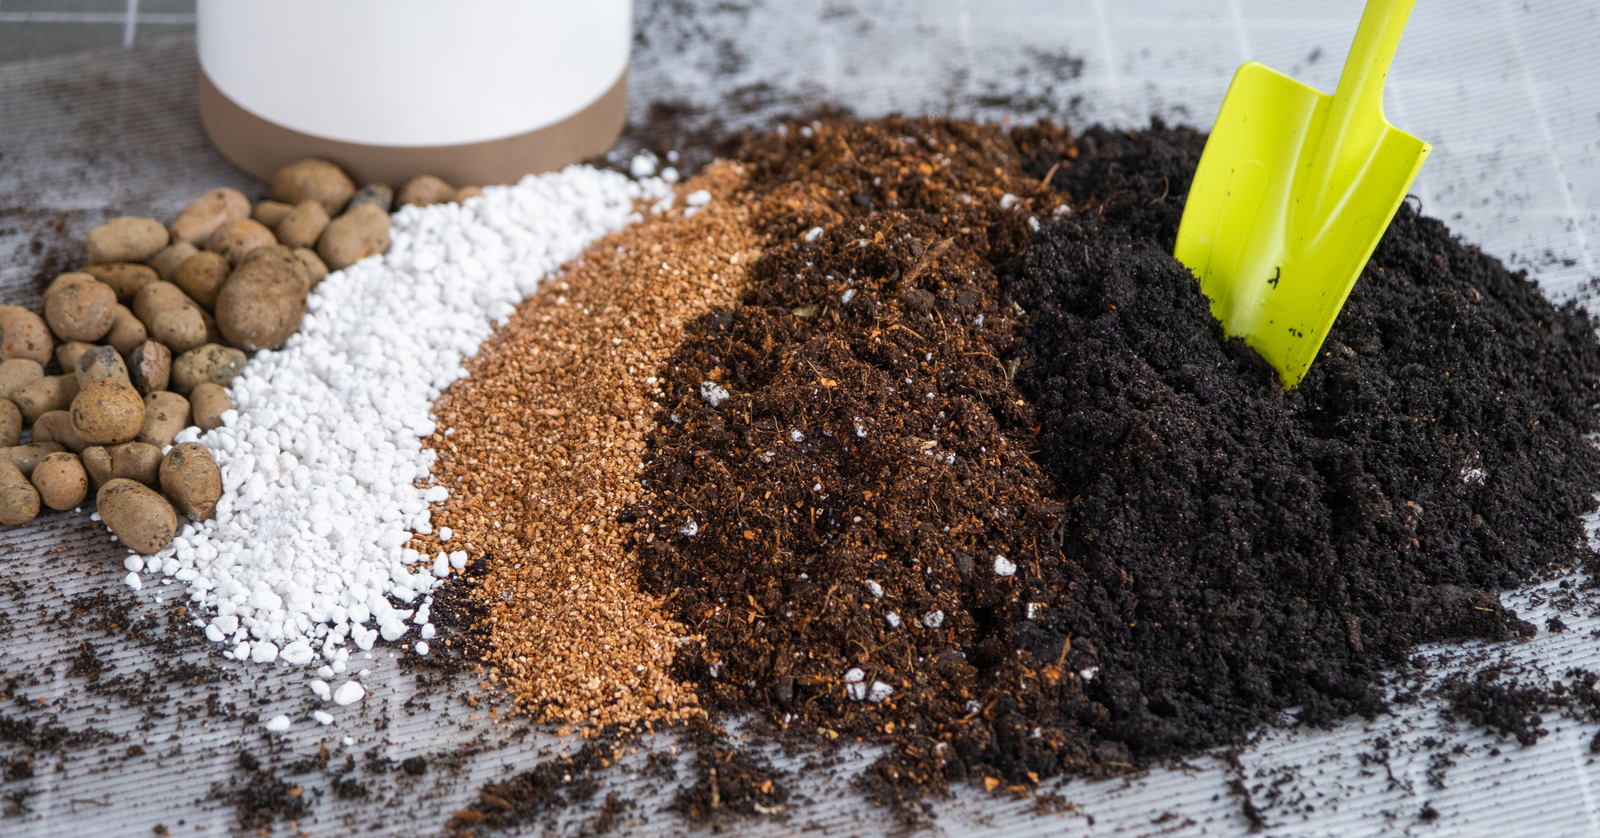
For the complete growth and optimal nutrition supply for each plant, nutritious soil and potting mix are essential elements. Boston ferns generally prefer well-draining, slightly acidic soil with an ideal pH between 5.0-5.5. The roots of Boston ferns are delicate, fine, and highly sensitive, so the ideal potting mix is crucial for their healthy growth. A well-balanced potting mix containing vermiculite, perlite, peat moss, and coconut coir helps to keep the ferns’ roots healthy and promotes good growth.
Boston ferns typically do not require regular fertilization, but the use of organic fertilizers can enrich the soil and sustain healthy growth. Fertilizing can be done every 6 weeks from spring through summer. Use a balanced liquid houseplant fertilizer like 20-10-20 and compost fertilizer. Avoid excessive fertilizer application, as it can damage the roots and foliage of the plants.
Watering
To successfully grow Boston ferns, regular watering is essential. Ferns prefer slightly moist soil. For indoor fern growth, water once or twice a week. However, before watering, check the soil by inserting your finger one inch deep. If the soil feels dry, water until it is evenly moist. Always use purified water at room temperature to avoid chlorine and other chemical additives.
Both excessively wet and overly dry soils can be harmful to ferns. Very dry soil can scorch the fern’s roots and hinder growth, while excessive watering can lead to waterlogging, causing the roots to rot and resulting in root rot. Therefore, regularly check the soil’s moisture level and water the fern accordingly.
Temperature & Humidity
Boston ferns can tolerate a wide range of temperatures, but they thrive best indoors within an ideal temperature range of 65 to 75 degrees Fahrenheit. Temperatures below 35 degrees Fahrenheit or above 95 degrees Fahrenheit can damage the plants, and they may die within a few days under such extreme conditions. Therefore, maintaining the correct temperature is crucial for the proper growth of ferns indoors.
Ferns perform well with high humidity levels, ideally above 80%. If your home lacks sufficient humidity, you can increase it by regularly misting the plants. Additionally, placing a tray filled with water and pebbles near the ferns can help increase humidity levels around them as the water evaporates. Keep ferns away from air conditioners and heaters to avoid exposing them to extreme temperature fluctuations.
Pests Control
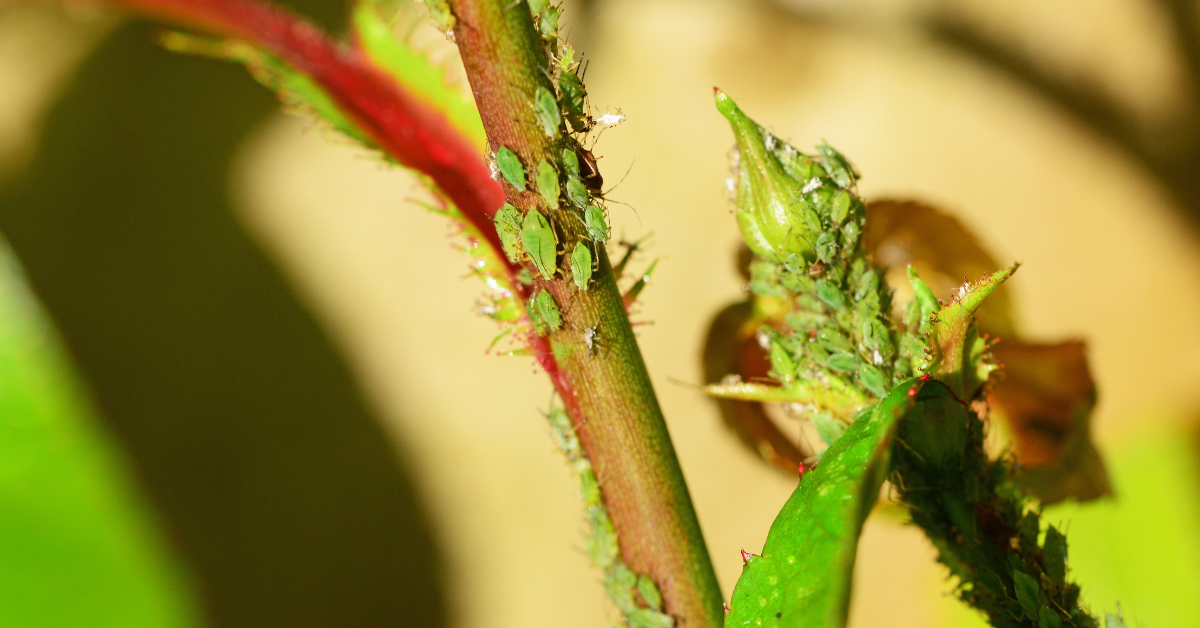
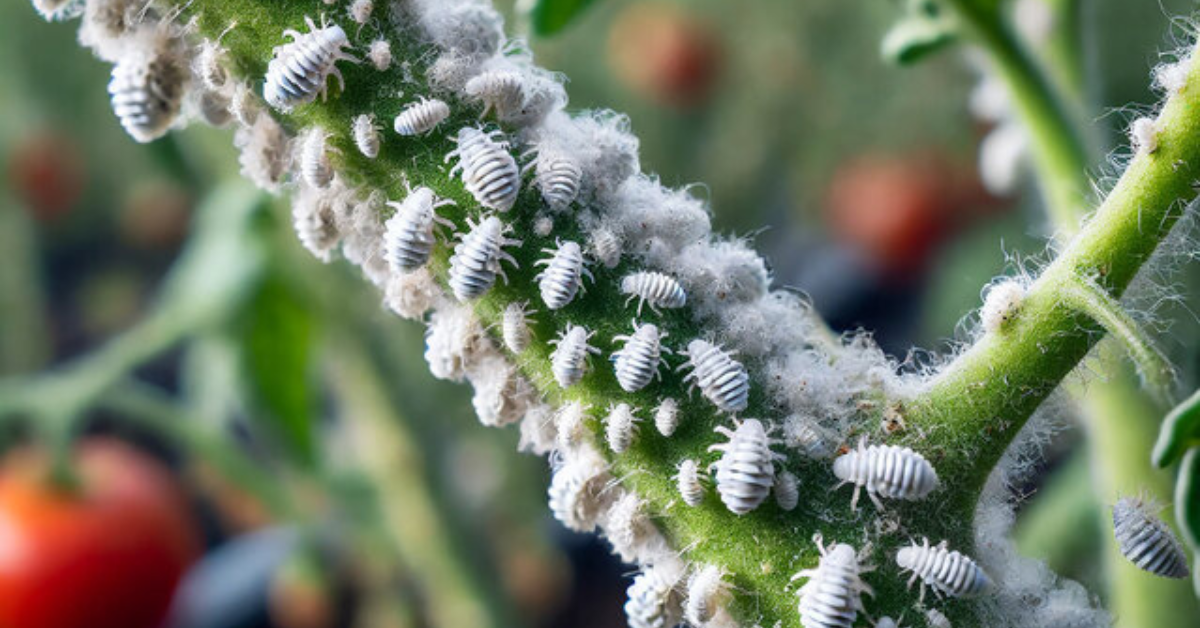
Boston ferns, whether grown indoors or outdoors, can be susceptible to pests such as whiteflies, mealybugs, aphids, scale, and fungus gnats. Whiteflies are usually found on the undersides of leaves, where they suck the plant’s sap and excrete sticky honeydew. Mealybugs settle on leaves and stems, also sucking sap and stunting growth. If effective measures are not taken quickly against these pests, the plants may eventually die.
The best way to control whiteflies is to spray the plants several times with a garden hose and manually remove the insects with a stick or your fingers. Mealybugs and other pests can be removed by spraying the plants with a mixture of isopropyl alcohol. Additionally, prune any infested leaves and stems, and regularly care for the plants while taking preventive measures against pests.
Types Of Boston Fern
There are various species of boston ferns, all of which are easy to grow at home with minimal care and attention. You can find these plants in bright golden and green golden varieties, with curly, wavy, twisted, hanging, and overlapping fronds. Some fern leaves are finely divided, creating a light and airy feel. Here are a few well-known species of fern plants discussed in detail:
Golden Boston
The Nephrolepis exaltata ‘Golden Boston’ plant has leaves that display a golden-green coloration, making it visually attractive both indoors and outdoors with minimal maintenance. Due to its appealing golden-green fronds, it is popular among gardeners and adds a unique beauty to homes. This plant is well-known for its air-purifying qualities as well.
Growing the Golden Boston fern at home is quite easy. It thrives in indirect sunlight, well-draining soil, moderate temperatures, and humidity. With minimal care and maintenance, it can flourish indoors and outdoors alike.
Florida Ruffle
The Nephrolepis exaltata ‘Florida Rufflen’ is a medium-sized fern plant known for its wavy and ruffled fronds, forming dense clusters. These plants thrive in mild environments and can grow well both indoors and outdoors with minimal maintenance. They prefer well-draining soil, moderate temperatures, indirect sunlight, and proper care. With the right conditions and care, Florida Ruffle ferns can flourish and enhance the beauty of homes in a short period of time.
Compacta Boston
The Nephrolepis exaltata ‘Compacta’ is a transformed variety of the Boston fern, characterized by its compact size and dense foliage. Its leaves can grow up to approximately 10 to 12 inches long. This species is relatively robust compared to others and can tolerate moderate warmth and dryness. By providing indirect sunlight, moist soil, organic fertilizer, regular watering, and moderate humidity, these plants can easily thrive indoors.
Rita’s Gold
The Nephrolepis exaltata ‘Rita’s Gold’ is a beautiful fern variety known for its striking golden-green foliage, enhancing brightness wherever it is placed indoors. Its exceptional beauty and ease of maintenance make it highly popular among gardeners. With minimal care and by providing indirect sunlight, moist soil, occasional fertilization, and regular watering, these plants can thrive both indoors and outdoors with ease.
Pruning Boston Fern
Boston ferns, being a spreading plant, tend to grow outwards, so regular pruning is necessary to control their size. Regular pruning keeps Boston ferns vibrant and encourages new growth. To prune a Boston fern, first remove any dead or yellowing fronds from where they connect to the main plant. Cut back any overgrown or elongated stems so the plant can grow in a fuller shape and encourage new, healthy growth. Use clean, sharp scissors or pruning shears for precise cutting. Avoid excessive pruning, as it can stress the plant. Regularly check and remove damaged fronds to maintain the fern’s bright appearance and overall health.
Propagating Boston Fern
Boston fern propagation is very easy, and it can yield results quickly. The simplest method of propagating Boston ferns is through division. Although Boston ferns, like all ferns, can also be propagated by spores, not all ferns produce spores. The methods for propagating Boston ferns through division and spores are described below:
Division
1. Begin by carefully removing the Boston fern from its pot. Shake off some of the soil to expose the roots and rhizomes (thin, root-like structures).
2. Using a sharp knife or scissors, divide the root ball into several sections. Each section should have at least one new sprout or a cluster of young leaves. Aim to divide each section evenly for balanced growth.
3. Transplant each division into a new pot filled with good-quality potting mix. Gently press the soil around the roots to ensure they are well-settled.
4. Immediately after transplanting, water the plants thoroughly. Monitor the soil moisture afterward, ensuring it does not become too soggy.
5. Place the plants in bright but indirect light. During the first few weeks, regularly check the soil moisture and care for the plants accordingly.
Sporse
1. Choose Boston fern leaves with visible spores on the underside. Spores usually appear as tiny, dot-like structures on the back of the leaves.
2. Cut the leaves and place them in a dry, clean area to allow the spores to fall off. Gently press the underside of the leaves with your fingers to help collect the spores.
3. Mix peat moss and perlite in a small pot or tray. Ensure the soil is light and well-draining.
4. Spread the spores evenly over the soil surface. Do not cover them with soil, as they are very fine and will grow better in direct light.
5. Lightly spray the soil to moisten it after sowing the spores. Cover the pot with a clear plastic cover or bag to maintain humidity and promote faster growth.
6. Place the pot in bright, indirect light and maintain a temperature of 20-24°C (68-75°F). This environment is ideal for spore germination.
7. Once the spores have germinated and small plants begin to grow, remove the cover. Ensure the soil remains consistently moist but not waterlogged.
8. When the new Boston fern plants have grown sufficiently and are strong enough, transplant them into separate pots.
Potting And Repotting For Boston Fern
Boston ferns prefer plastic or terracotta pots with good drainage holes. An ideal mix of loamy soil and advanced potting mix such as sand, vermiculite, perlite, peat moss, and coco coir creates a suitable medium for Boston ferns. For growing Boston ferns at home, add loamy soil and potting mix to the chosen pot and place the seedling in it. After placing the plant in the pot, add a little fertilizer and water, then transfer the plant to a location where it receives bright, indirect sunlight.
Six months to a year later, the ferns may need repotting. When you notice your plants are growing excessively and roots are coming out of the pot, it’s time to start repotting. Choose a pot with good drainage holes that is two inches larger than the root ball of the plant. After selecting the pot, add quality soil and potting mix to it, carefully lift the plant with its roots from the old pot, and transfer it to the new one. After transferring the plant to the new pot, add good soil and potting mix around the roots and provide a little fertilizer and water. Now, move the pot to a bright location of your choice. Repotting allows the plant roots more space to spread and grow comfortably, and the new soil and potting mix supply necessary nutrients for healthy growth.
Common Problems With Boston Fern
The primary issue for Boston ferns is overwatering, which can lead to root rot and eventual plant death. These plants prefer moist soil and should be watered approximately once a week. To prevent overwatering, always check the soil moisture before watering; if the top inch of soil feels dry, then it’s time to water.
To address root rot, carefully remove affected ferns from their pots, trim away any damaged roots, and replant them in fresh soil. Ensure they receive adequate light exposure and avoid excessive use of chemical fertilizers, which can cause leaf discoloration and leaf drop. During the growing season, apply organic fertilizer every four to six weeks for optimal growth.
FAQ
What are the benefits of growing Boston Ferns indoors?
Growing Boston ferns indoors offers several benefits. They enhance air quality by removing toxins such as formaldehyde and increase humidity through transpiration. These low-maintenance plants thrive in indirect light, adding lush, calming greenery to any space. They are also pet-friendly and can help reduce stress, making them a valuable addition to indoor environments for both aesthetic and health reasons.
What are the cons of Boston Ferns?
Boston ferns have a few drawbacks. They require consistent moisture and high humidity, which can be challenging to maintain indoors. Their sensitivity to dry air may cause brown, crispy fronds. They need indirect light and can be sensitive to direct sunlight. Additionally, Boston ferns may attract pests like spider mites and aphids, necessitating regular monitoring and care to keep them healthy.
Can I grow the Boston Ferns outdoors?
Yes, Boston ferns can be grown outdoors in suitable climates. They thrive in shaded or partially shaded areas with high humidity and well-drained, moist soil. They are best suited for USDA hardiness zones 10-12. In cooler climates, you can grow them as annuals or move them indoors during cold weather. Ensure they are protected from direct sunlight and strong winds to promote optimal growth.


