Cold composting is indeed the simplest and most fundamental composting process. It’s the best and easiest way to make compost at home because it doesn’t require as much effort, monitoring, or maintenance. Cold composting doesn’t require maintaining specific temperature levels. You can use various types of containers to create your compost heap, such as a pallet bin, a dalek compost bin, or a homemade wooden compost bin. By regularly adding organic materials and turning the pile periodically to ensure proper airflow, you can get good-quality compost within a few weeks. Cold composting relies on the naturally occurring bacteria and microbes in the soil to break down organic waste materials into compost, enriching the soil with nutrients and improving its fertility.
What Is Cold Composting
Cold composting is a simple and natural composting process where organic waste materials gradually break down to produce nutrient-rich compost for the soil. This process occurs without the need for temperature control or high temperatures. Cold composting requires minimal effort and maintenance, making it easy to do at home. Since cold composting does not require temperature and moisture control, it is less labor-intensive. The process involves combining green and brown materials and proceeds slowly, taking several months to a year to produce fully developed compost. Through cold composting, you can easily create nutrient-rich compost at home, which will help improve the fertility of your garden soil.
What Materials Can Be Composted
If you’ve selected a location and a compost bin, you can start composting by adding the necessary ingredients. In this case, you need to know what materials to add to the compost bin and what materials to avoid adding.
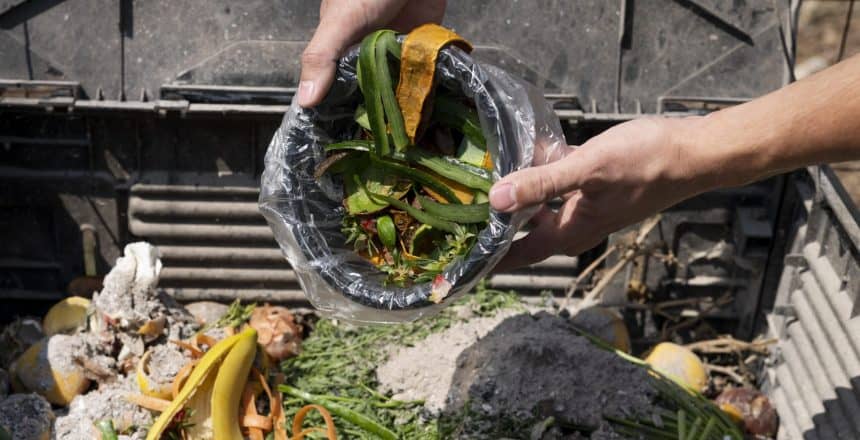
Composting requires a careful balance of ingredients in the composting system. For cold composting, it’s essential to have a sufficient amount of brown materials, which are capable of retaining carbon in large quantities. Additionally, green materials like kitchen scraps need to be added to the compost pile to provide nitrogen. It’s important to avoid adding various types of animals, fats, meat, unhealthy plants, or pesticides to the compost pile as they can generate excessive odors when they decompose. To produce high-quality compost, it’s necessary to add composting ingredients according to the requirements of the pile and monitor the composting process regularly.
Green & Brown Materials Ratio
For cold composting, it’s essential to apply green and brown materials in a specific ratio. Two-thirds of the total material should be brown matter, while one-third should be green-rich material. Maintaining this ratio ensures that the microorganisms in the compost pile have the necessary nutrients to decompose effectively. If the green and brown materials are not applied in the correct proportion, unpleasant odors may develop in the compost bin. Add green and brown materials weekly, keeping the ratio of 2 parts brown material to 1 part green material. Start each time with green materials at the bottom and layer brown materials on top.
How To Start Cold Composting
Creating cold compost is extremely easy and can be a perfect fit for beginners. With just a compost bin, a suitable location, nitrogen and carbon-rich materials, and proper maintenance, you can produce high-quality compost. Follow the guidelines below to create good-quality cold compost :
Compost Location
If you have enough space, you can easily start composting in your backyard or any shaded area. Whether you compost on the ground or in a compost bin depends on the size of your space. If you have a small area and want to compost a limited amount, choose a small space. However, we always recommend a large and open space to start composting, where you can easily manage the composting process.
Choose A Compost Bin
Compost bin is a key component for making compost. You can do the composting process in a compost bin or on the ground. If you have enough space and you don’t want to spend money on buying a compost bin, you can start it on the ground. However, if you don’t have enough space, you can buy a compost bin according to your preference or make one yourself to start composting. In that case, determine the size of the compost bin based on how much compost you want to produce. By adding necessary ingredients to the compost bin and with minimal care, you can get good quality compost in a short period of time.
Add Green Materials
Composting cannot be imagined without green materials. Nitrogen is essential for the nourishment and reproduction of plants, which green materials supply to your garden. Green materials help increase the temperature of the compost pile and aid in the rapid growth of microorganisms in the pile. Green materials include table scraps, fruit scraps, vegetable scraps, lawn and garden weeds, flowers, seaweed, chicken manure, coffee grounds, tea leaves, hedge clippings, garden waste, and fresh leaves.
Add Brown Materials
Brown materials are rich in carbohydrates. They provide carbon to the microorganisms, which are the main source of energy for them. Brown materials contribute to the structure of your compost pile, ensure the presence of carbon, and maintain air availability for microorganisms. Brown materials include dry leaves, straw and hay, shrub prunings, pine needles/cones, chopped twigs/branches, wood ash, newspaper, shredded paper, cardboard, corn cobs, stalks, dryer lint, sawdust, eggshells, and brown paper bags.
Watering Compost pile
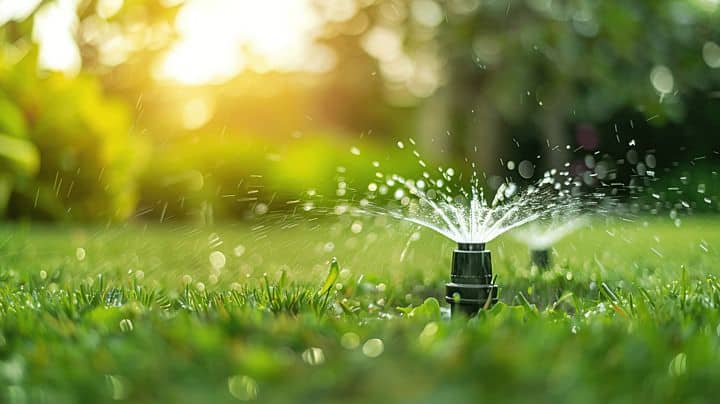
Since cold composting relies heavily on brown materials, the compost pile may dry out. It’s essential to manage water in your compost bin according to the volume of compost you have. This helps prevent excessive dryness in the compost bin and maintains the proper temperature for the composting process. The use of water ensures the correct development of microbes, which enhances the decomposition process and contributes to the proper development of composting, aiding in the breakdown of both green and brown materials.
Stir Compost Pile
To ensure proper aeration and decomposition in the compost pile, you should turn the compost every two weeks or use a pitchfork to thoroughly mix it. This practice helps to aerate the compost pile, preventing it from becoming compacted and ensuring a rich oxygen supply, which is crucial for aerobic decomposition. The composting process generates significant heat, and turning the pile helps release this heat outward, preventing it from building up excessively. Regular turning of the compost pile accelerates the composting process, leading to the production of nutrient-rich compost in a relatively short period.
Use Your Compost
Within four to six months, you’ll notice your compost pile shrinking in size and developing a deep brown color with a pleasant odor. At this point, you can start collecting compost from your pile. You can use the compost for your flower garden, vegetable garden, indoor gardening, and seed starting. You have the option to either apply compost tea or directly apply compost to your plants. When planting seeds, you can mix half potting soil and half compost. Additionally, you can use compost as mulch around your plants to keep them free from harmful pests.
Benefit Of Cold Composting
Cold composting offers the advantage of producing nutrient-rich compost for plants in a relatively short period using organic materials in a simple and natural manner. In cold composting, there’s no need to control temperature, making it a hassle-free process. While it may take longer to complete compared to other methods, there’s no extra effort or maintenance required. For those who prefer not to dedicate much time to composting or worry about temperature management, cold composting can be a great option.
By simply adding appropriate materials, you can achieve good results within a few months. Cold composting typically utilizes household organic waste, reducing the hassle of waste disposal. The compost obtained from this process can be used in gardens and for plant care, saving money on additional fertilizers. It enriches the soil, enhances plant nutrition, and contributes to better yields. Overall, composting is highly praised for being an accessible and effective method.
FAQ
Does cold composting smell?
Cold composting can sometimes produce an odor if not managed properly, often emitting a musty or earthy smell due to slow decomposition. To minimize odors, ensure a proper balance of green and brown materials, maintain good airflow, and avoid adding excessive moisture or high-protein waste. Regularly turning the compost also helps to manage and reduce unpleasant smells.
How do you make a compost layer?
To create a compost layer, start by placing coarse materials like straw or small branches at the bottom for good airflow. Next, add a layer of green materials such as vegetable scraps and grass. Follow this with a layer of brown materials like dry leaves or cardboard. Alternate between green and brown layers, maintaining adequate moisture and turning the compost regularly to ensure even decomposition.
How long does it take to cold compost?
Cold composting can take from six months to over a year, depending on factors such as the types of materials used, the balance of green and brown materials, and environmental conditions. Unlike hot composting, which accelerates decomposition through higher temperatures, cold composting relies on natural, slower processes.


